Creating a BMI Calculator Book Widget
Book widgets may shape the future of interactive ebook technology. If you want to have the utmost flexibility creating interactive ebooks, then it’s best to learn how to develop a book widget yourself. Following our previous post introducing the Book Widgets, in this post, we will be actually developing a BMI calculator widget to use in an interactive ebook about health and fitness.
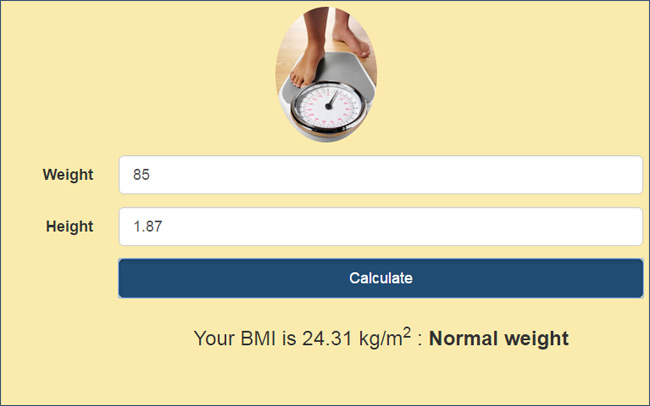
BMI (Body Mass Index) is a metric used to calculate the amount of tissue mass in a human body and based on that value, categorize the person as underweight, normal weight, overweight, or obese. The formula is simple: the person’s weight divided by the person’s height squared. The resulting units are kg/m2. To give you an idea, here is a screenshot of what the final widget will look like.
If you’d like to have the source files for this widget to follow along, you can download it from here. So, let’s start!
Input elements
The formula depends on two input items: weight and height. These two values need to be fetched from the user. We will do that using simple HTML input elements, and a submit button, inside a blank HTML file named index.html.
Weight <input id="weightInput" name="weight" type="number" /> kg
Height <input id="heightInput" name="height" type="number" /> m
<input id="calculateBtn" type="submit" value="Calculate" />
This will show the input elements that the user can type in his weight and height, and a button reading “Calculate“. Not very fancy, as we’re not using any CSS yet. We can carry on using only this HTML, without any additional CSS, but it won’t be very friendly to the user. Especially with the design standards for modern-day websites and services, you want to be offering something encouraging.
At the moment, nothing will happen when clicking on the Calculate button, as we still need to add some JavaScript to our code. But before that, let’s try to make things look prettier through CSS.
CSS styles
To beautify things, we will be using the Bootstrap CSS framework, that already has many ready-made styles which we can use.
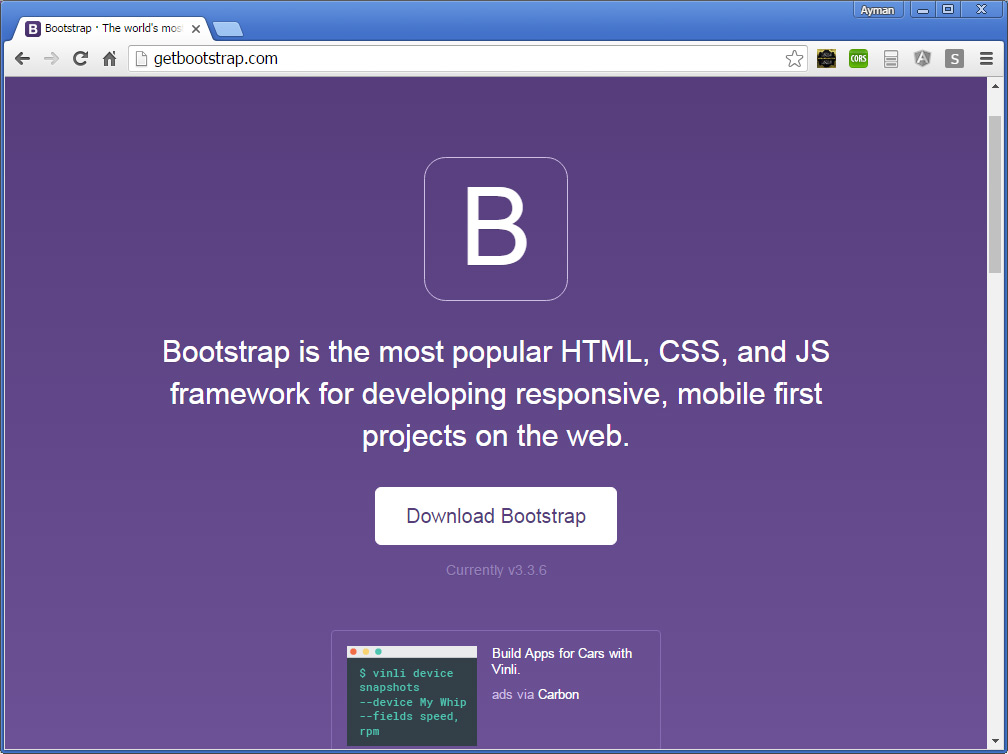
Download Bootstrap from getbootstrap.com, and add the CSS files to your project structure, and add the following line right before the closing </head> tag:
<link rel="stylesheet" href="bootstrap.min.css"/>
As a reference, you will be able to see many different Bootstrap styles you can apply to your project, from this page. We have mainly used their forms styling, to have a neat responsive look for our input elements.
Applying a responsive layout
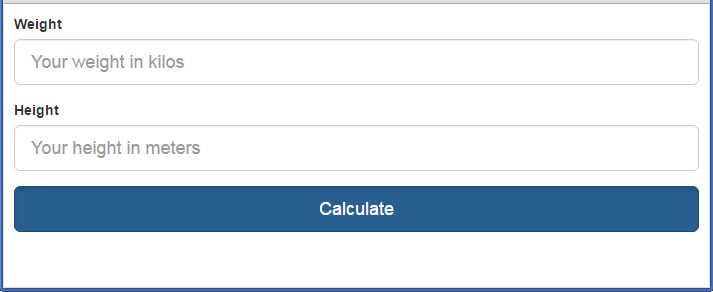
By using templates from Bootstrap’s forms section on their website, we are able to create the following block:
<form class="form-horizontal">
 <div class="form-group form-group-lg">
 <label class="col-sm-2 control-label" for="formGroupInputLarge">Weight</label>

 <div class="col-sm-10">
 <input class="form-control" type="number" name="weight" id="weightInput" placeholder="Your weight in kilos">
 </div>
 </div>
 <div class="form-group form-group-lg">
 <label class="col-sm-2 control-label" for="formGroupInputLarge">Height</label>

 <div class="col-sm-10">
 <input class="form-control" type="number" name="weight" id="heightInput"
 placeholder="Your height in meters">
 </div>
 </div>
 <div class="form-group">
 <div class="col-sm-offset-2 col-sm-10">
 <button type="button" id="calculateBtn" class="btn btn-primary btn-block btn-lg active">Calculate</button>
 </div>
 </div>
</form>
And with Bootstrap’s magic, this is how it will look like:
We can actually create our own CSS file (style.css) and add it to our HTML page the same way as before. What we would like to do is add a background color other than white. This is what we will type in our CSS file:
body{
background-color: #faebad;
}
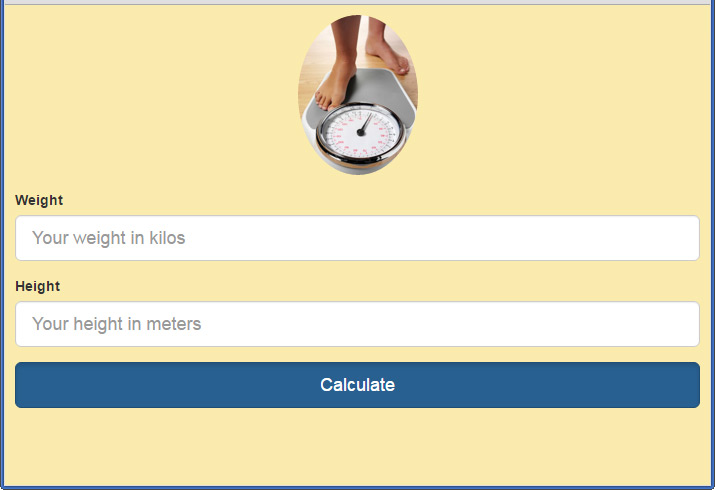
Also if you want to be even fancier, you could add an image above the input fields. Also, we need to make room for where the BMI result will appear. Here is our HTML after all these additions.
<form class="form-horizontal">
 <div class="form-group form-group-lg text-center">
 <img src="http://www.travelinsurance.org/wp-content/uploads/2011/10/obesity-bmi-myth.jpg" width="120px"
 alt="BMI calculator" class="img-circle">
 </div>
 <div class="form-group form-group-lg">
 <label class="col-sm-2 control-label" for="formGroupInputLarge">Weight</label>

 <div class="col-sm-10">
 <input class="form-control" type="number" name="weight" id="weightInput" placeholder="Your weight in kilos">
 </div>
 </div>
 <div class="form-group form-group-lg">
 <label class="col-sm-2 control-label" for="formGroupInputLarge">Height</label>

 <div class="col-sm-10">
 <input class="form-control" type="number" name="weight" id="heightInput"
 placeholder="Your height in meters">
 </div>
 </div>
 <div class="form-group">
 <div class="col-sm-offset-2 col-sm-10">
 <button type="button" id="calculateBtn" class="btn btn-primary btn-block btn-lg active">Calculate</button>
 </div>
 </div>
 <div class="form-group">
 <div class="col-sm-offset-2 col-sm-10 text-center">
 <h3 id="bmi"></h3>
 </div>
 </div>
</form>
And it looks almost like what we had at the start:
Since Bootstrap styles are responsive. You will see that everything resizes nicely if you change the dimensions of your browser:
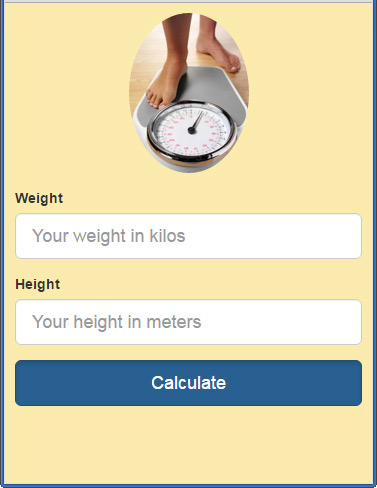
Everything looks so alive, yet so dead! If you push the button, nothing will happen. This is where JavaScript comes in, to glue everything together.
JavaScript
If you notice in our HTML code, we had an id element for each of the input fields, the Calculate button, and the H3 tag we created for our result. What we would like to do, is once the calculate button is clicked, we will grab the width and height entered by the user, calculate the BMI, and display it in the room we created, underneath the Calculate button.
We will create a new JavaScript file script.js and place it in a new js folder inside our project directory. To link this new file to our main HTML file, we will add the following line right before the closing </head> tag:
<script src="js/script.js""/>
We will not go into tiny details of JavaScript since you’ll find many useful resources online. Here is the entire code that would go into the script.js file:
document.addEventListener("DOMContentLoaded", function() {

 var weightInput = document.getElementById("weightInput");
 var heightInput = document.getElementById("heightInput");
 var calculateBtn = document.getElementById("calculateBtn");
 var bmiElem = document.getElementById("bmi");

 calculateBtn.addEventListener("click", function(e) {
 var bmi = Number(weightInput.value) / Math.pow(Number(heightInput.value), 2);
 if (!bmi) return;
 bmi = Math.round(bmi * 100) / 100;
 var result = "";
 if (bmi >= 35) result = "Extremely Obese"
 else if (bmi >= 30) result = "Obese"
 else if (bmi >= 25) result = "Overweight"
 else if (bmi >= 18.5) result = "Normal weight"
 else result = "Underweight"

 bmiElem.innerHTML = "Your BMI is " + bmi + " kg/m<sup>2</sup> : <strong>" + result + "</strong>";
 });
});
Now if you type in your weight and height, and click Calculate, you will see your BMI. Hopefully, you’re not disappointed!
Packaging as a book widget
You have yourself a nice web app that you can be uploaded to any web server and have people access it through a URL. Packaging this as a book widget to go into your interactive ebook will require a step further. But very simple.
In a previous article we posted, we mentioned the differences between page widgets and popup widgets. In a nutshell, page widgets run in your page, while popup widgets open up in a dedicated window. This calculator would be more suitable as a popup widget. However, we’ll see how we can package for both.
Packaging as a page widget
Believe it or not, all you have to do is zip all your files, and the zipped file becomes your book widget file. Make sure you are zipping the files and not the folder. So select all the files, and using your favorite compression program, compress them all into a Zip archive. You can use the widget now inside of Kotobee Author.
Packaging as a popup widget
This requires a few more steps, but the benefit is worth it. As a popup widget, you will be able to use it with iBooks Author too (discontinued in 2020). Firstly create an image that will be used as a clickable widget button. This will be displayed on the page. Name the image Default.png and place it in your project directory, right beside the index.html file. Here is a suitable button we designed:

Secondly, you will need to create a new file, namely Info.plist. There is a ready-made template that you can use for all your projects. However, there are just a few variables that you should watch out for and possibly change for each project. Firstly, you should search for the key MainHTML. The value underneath it represents the HTML file name that should open the widget – index.html in our case. You also have the Width and Height keys, representing the dimensions of the popup window. Finally, the CFBundleIdentifier key should represent a unique identifier string for your widget. Name it anything you like. Here is a prepared Info.plist file we will use for our widget:
<?xml version="1.0" encoding="UTF-8"?>
<!DOCTYPE plist PUBLIC "-//Apple//DTD PLIST 1.0//EN" "http://www.apple.com/DTDs/PropertyList-1.0.dtd">
<plist version="1.0"><dict>
<key>BackwardsCompatibleClassLookup</key>
<true/>
<key>CFBundleDevelopmentRegion</key>
<string>English</string>
<key>CFBundleDisplayName</key>
<string>checklist</string>
<key>BRNotifiesOnReady</key>
<true/>
<key>CFBundleIdentifier</key>
<string>com.kotobee.widget.yourwidgetname</string>
<key>CFBundleName</key>
<string>checklist</string>
<key>CFBundleShortVersionString</key>
<string>1.0</string>
<key>CFBundleVersion</key>
<string>1.0</string>
<key>KFNotifiesOnReady</key>
<true/>
<key>Height</key>
<integer>768</integer>
<key>MainHTML</key>
<string>index.html</string>
<key>Width</key>
<integer>1024</integer>
<key>IBNotifiesOnReady</key>
<true/>
</dict>
</plist>
Rename the project folder to a meaningful name (e.g. bmiWidget) and add the extension .wdgt to the folder. Compress the entire folder (not the content) into a new Zip file. The file should have the extension .wdgt.zip. And congratulations! That would be your popup widget. You can use this in many applications including iBooks Author (discontinued in 2020) and Kotobee Author.
Conclusion
Although the steps in this article turned out a bit long, we hope you found them simple enough to follow. We’ll be happy to know of any book widgets you’ve created, and perhaps make a case study about it in our blog. If you’d like to have the source files for this widget, you can download it from here.
Read these posts.
Book Widgets: Everything You Need to Know
How to Add a Feedback Form to Your Ebook
The Beginner’s Guide to Ebook Formats
More from Our Blog